| Return postage will be paid by | Buyer |
|---|---|
| Returns Accepted | Returns Accepted |
| After receiving the item, your buyer should cancel the purchase within | 30 days |
| Model | Elite |
| Type | Doorbell Camera |
| Brand | Ring |
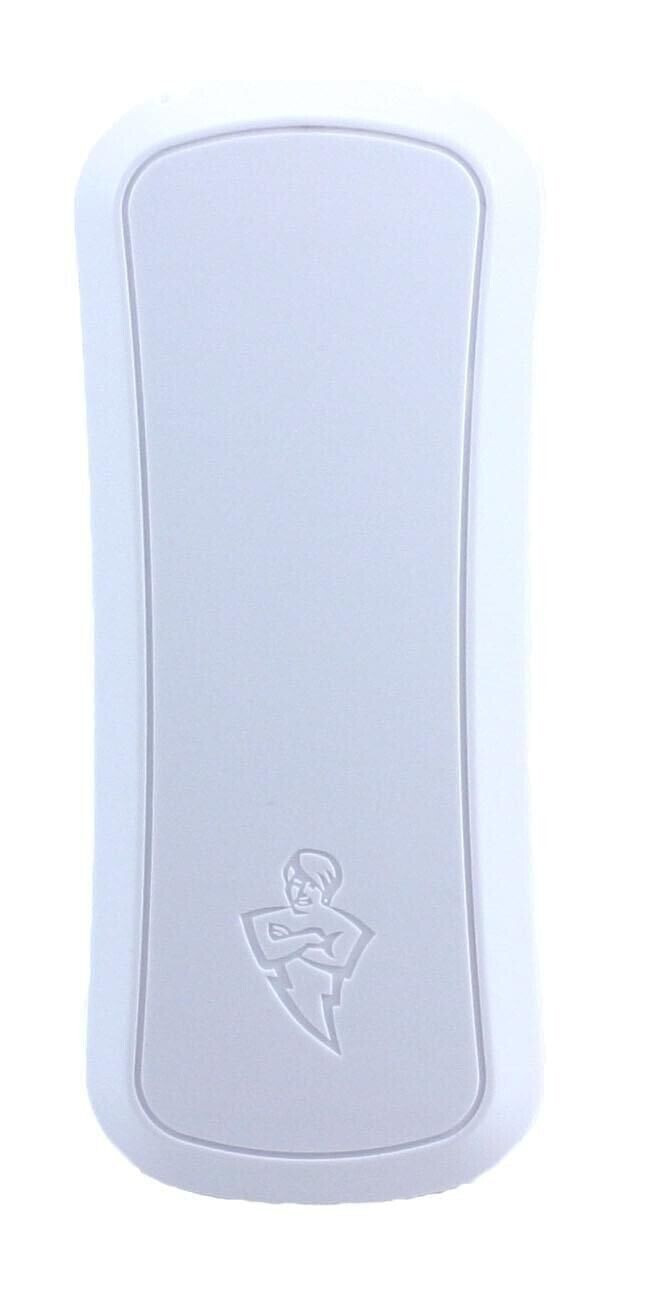
Check the listing for details. RING Doorbell Elite Replacement Button (UV protected) Brand New - will not crack. Condition: New. Listed at 11.56 USD. Brand new Ring Doorbell Elite Replacement Button. Over 150 five star reviews!!! don't make the mistake of buying a inferior 3d printed part This is a manufactured Injection Molded part like the original RING button but much stronger and UV protected - Not a cheap 3D printed part Has your ring doorbell pro button cracked or broke. Replace now so you can make it water tight again and make it look brand new. Only works on the Rind Doorbell Elite - Check photos to see if compatible. If you have an Ring Doorbell Pro, please see my other listing - Manufactured to the highest quality to be an exact replica of the current ring doorbell pro button. Supplied : 1 x replacement button ONLY (nothing else supplied i.e no Ring Doorbell unit included and no tools) Tools Need (not supplied): small Philips head screwdriver, small flat head screwdriver and a plastic spudger or knife Fitting guide: **Update** - Lots of customers have had great luck, just pulling out the cracked button with pliers and then lining up the new button and pushing it into place. Just make sure the new button alignment holes are aligned correctly before pushing in place. Use the photos in this listing and the steps belowPeel back the foam and remove all 12 screws.Remove the two screws on the each side and pull the side pieces off.Remove the two screw on the top and pull out the black clipCarefully pull the back off (ribbon cable is attached), this needs a bit of force using the spudger,Remove the ribbon cable Remove the four corner screws on the circuit, detach the other ribbon cable and remove the first circuitRemove the metal plate by removing the screws and then detach the cables.Remove the 4 corner screws on the circuit and remove the second circuitRemove the 4 corner screws on the final circuit and remove Remove the silver screw on the white plastic housing for the button.Now, button drops out the front and you can careful remove broken cover, gently pry off old button cover.Line up new button cover to the base of the button mount.Carefully. As it’s still on a circuit ribbon, you don’t want to tug it.Once new cover is lined up. Refit button (don’t forget the spring) and refit unit by reversing the steps Top Quality Guaranteed - Any issues just contact me for a replacement.
You may also like